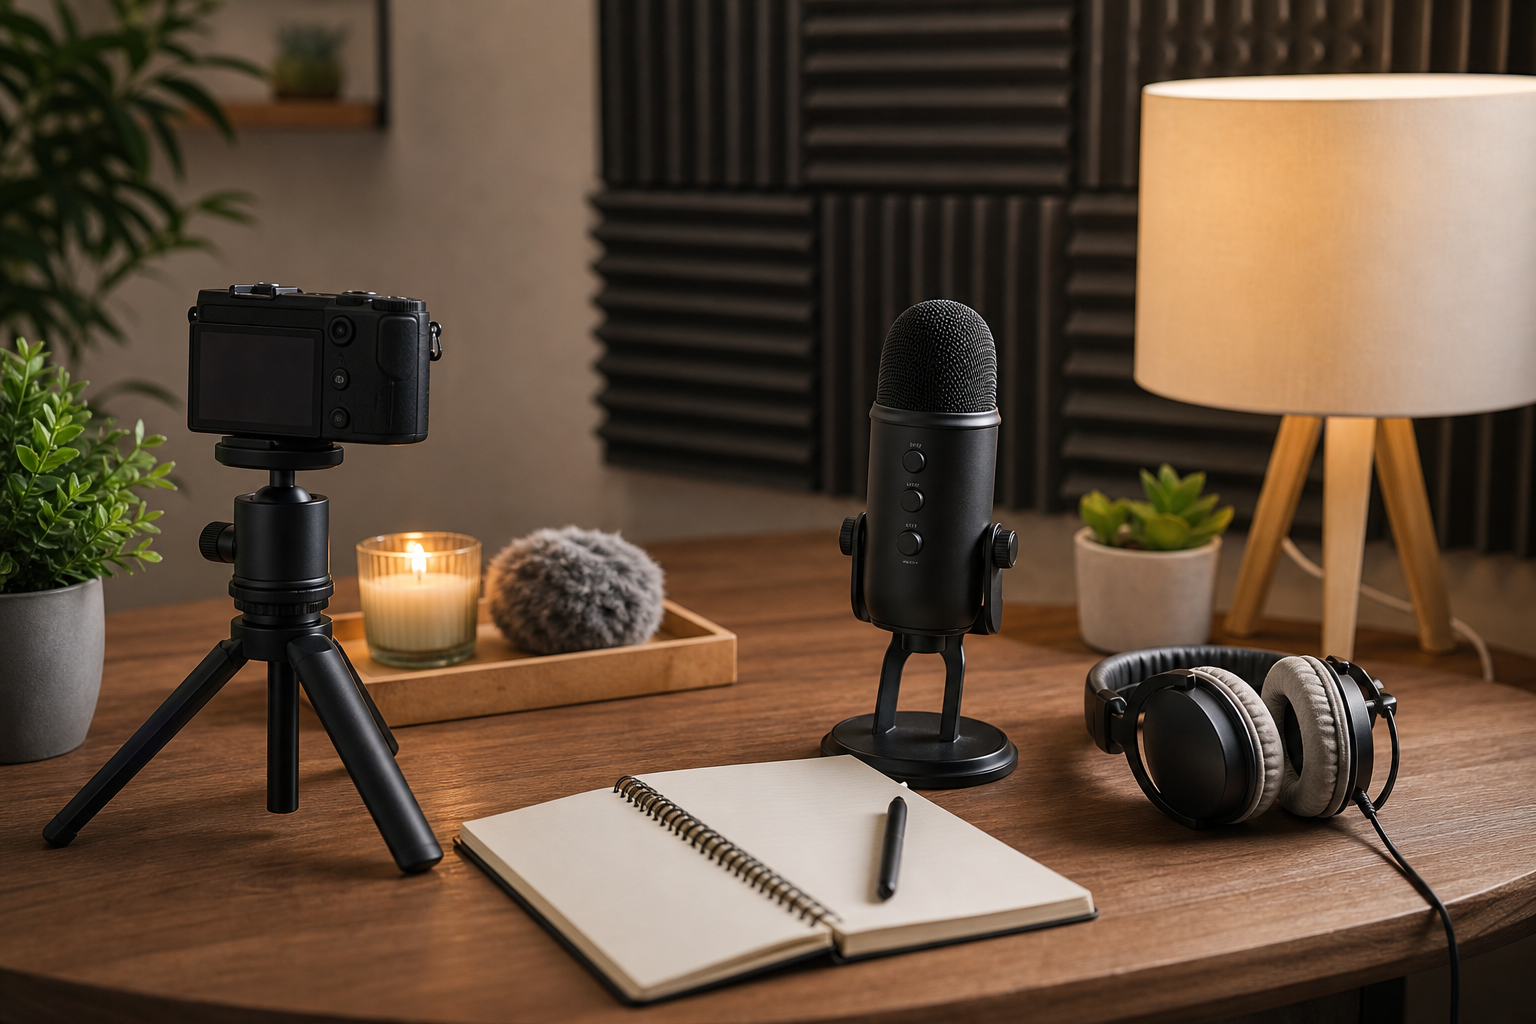
By YU. This home recording guide focuses on practical sound checks, room control, and small habits that make quiet audio easier to listen to.
Clear ASMR audio starts before you press record. The microphone matters, but the room, distance, gain, and performance choices matter just as much. Many beginner problems come from recording too loudly, sitting too far away, or ignoring background noise until editing. A simple checklist can make each session cleaner.
Control Background Noise
Record when your home is quiet. Turn off loud appliances, close windows if traffic is noticeable, and move away from computer fans. Listen through headphones before recording a full session. If a noise is obvious in a ten-second test, it will be obvious in a twenty-minute video.
Set Microphone Distance
ASMR often benefits from close recording, but too close can create breath blasts, mouth clicks, and harsh consonants. Try several distances and angles. Speaking slightly off-axis can reduce sharp breath sounds. For tapping, move the object rather than constantly moving the microphone if handling noise becomes a problem.
Use Sensible Gain
Recording too hot causes distortion, while recording too quiet can add hiss when boosted later. Aim for a clean signal with room for sudden louder sounds. Tap the loudest object you plan to use before recording and set levels based on that moment, not only your voice.
Edit Lightly
Editing should improve clarity without removing the natural feeling. Cut major mistakes, reduce obvious noise if needed, and keep volume comfortable. Heavy noise reduction can create watery artifacts that are distracting in ASMR. Always listen to the final export on headphones before uploading.
Record a Test Before the Real Take
A short test saves a lot of frustration. Record thirty seconds of silence, thirty seconds of your main trigger, and one louder moment. Listen back with headphones. You are checking for hum, chair movement, table knocks, breath blasts, and whether the quiet parts are still audible. This habit is simple, but it makes home recordings feel much more intentional.
Keep the Setup Stable
Clear ASMR audio depends on consistency. Put the microphone on a stable surface, keep props within reach, and avoid touching the desk while recording. If you need to move objects, move them slowly and deliberately. A quiet room helps, but controlled hands and predictable distance are just as important.
My Basic Home Recording Check
A short test recording catches most beginner audio problems before they ruin a full take.
- Record silence, your main trigger, and one louder moment.
- Listen back with headphones before publishing.
- Move props slowly and keep the microphone stand stable.
Home Recording Questions
How long should my test recording be?
One to two minutes is enough to catch hum, peaks, and handling noise.
What is the easiest home audio improvement?
Record in the quietest part of the room and keep the microphone stable.
Make the Quiet Parts Intentional
Clear ASMR audio comes from small habits: a quieter room, stable hands, sensible gain, and a short test before the real take.
Related Guides in ASMR Gear
 ASMR Gear
How to Reduce Background Noise for ASMR Recording
Room noise, gain, …
ASMR GearDo You Need Expensive Gear for ASMR?
Expensive ASMR gea…
ASMR GearSimple ASMR Recording Setup for Small Rooms
A small-room ASMR …
ASMR GearHow to Reduce Background Noise for ASMR Recording
Room noise, gain, …